Five members of the Bear Creek Aero Club (Terry, Andy, Chuck, Mike and Kent) braved the heat to work on the Skycoupe and RV-7 wings. We started with a hearty breakfast at Al's Diner at 7AM. Noel Fallwell, on his way to work on his RV-6A at Siler City, join us. We then headed out to the Skunk Works. Between the shade of the hangar and strategically-placed fans, it was really quite comfortable. Kent finalized design of the seat backs and bases - at the next work sessions we'll be fabricating a trial set of seat parts from surplus, unusable 0.025" sheet aluminum, a great way to learn sheet metal skills.
Terry and Andy worked on the RV-7 wings, which are nearing completion. Mike and Chuck cleaned and finished prepping the wings using irons set at 225 degrees. This tedious job focuses on flattening the edges of fabric and tape and smoothing out areas where the Polybrush coating was thicker than needed. During the work on the wings, Terry's new rotisserie came in VERY handy, as can be seen in the photos below. Terry designed the fixture to hold wings, metal or otherwise, as well as a fuselage and even a motor. This sturdy structure is sure to see frequent use in the coming years, and Terry is to be commended for his creativity and hard work in its creation.
While working we discussed some opportunities for the BCAC to participate at the upcoming
Triple Tree Aerodrome Fly-In on 5-9 September. Kent will have a booth there again and quite a few BCAC and EAA1114 members plan to attend this great grassroots event which is often compared to the EAA annual convention during its earlier years when the focus was on homebuilding, restorations and fun flying.
Chuck and Andy check out the rotisserie, securely supporting the right wing.
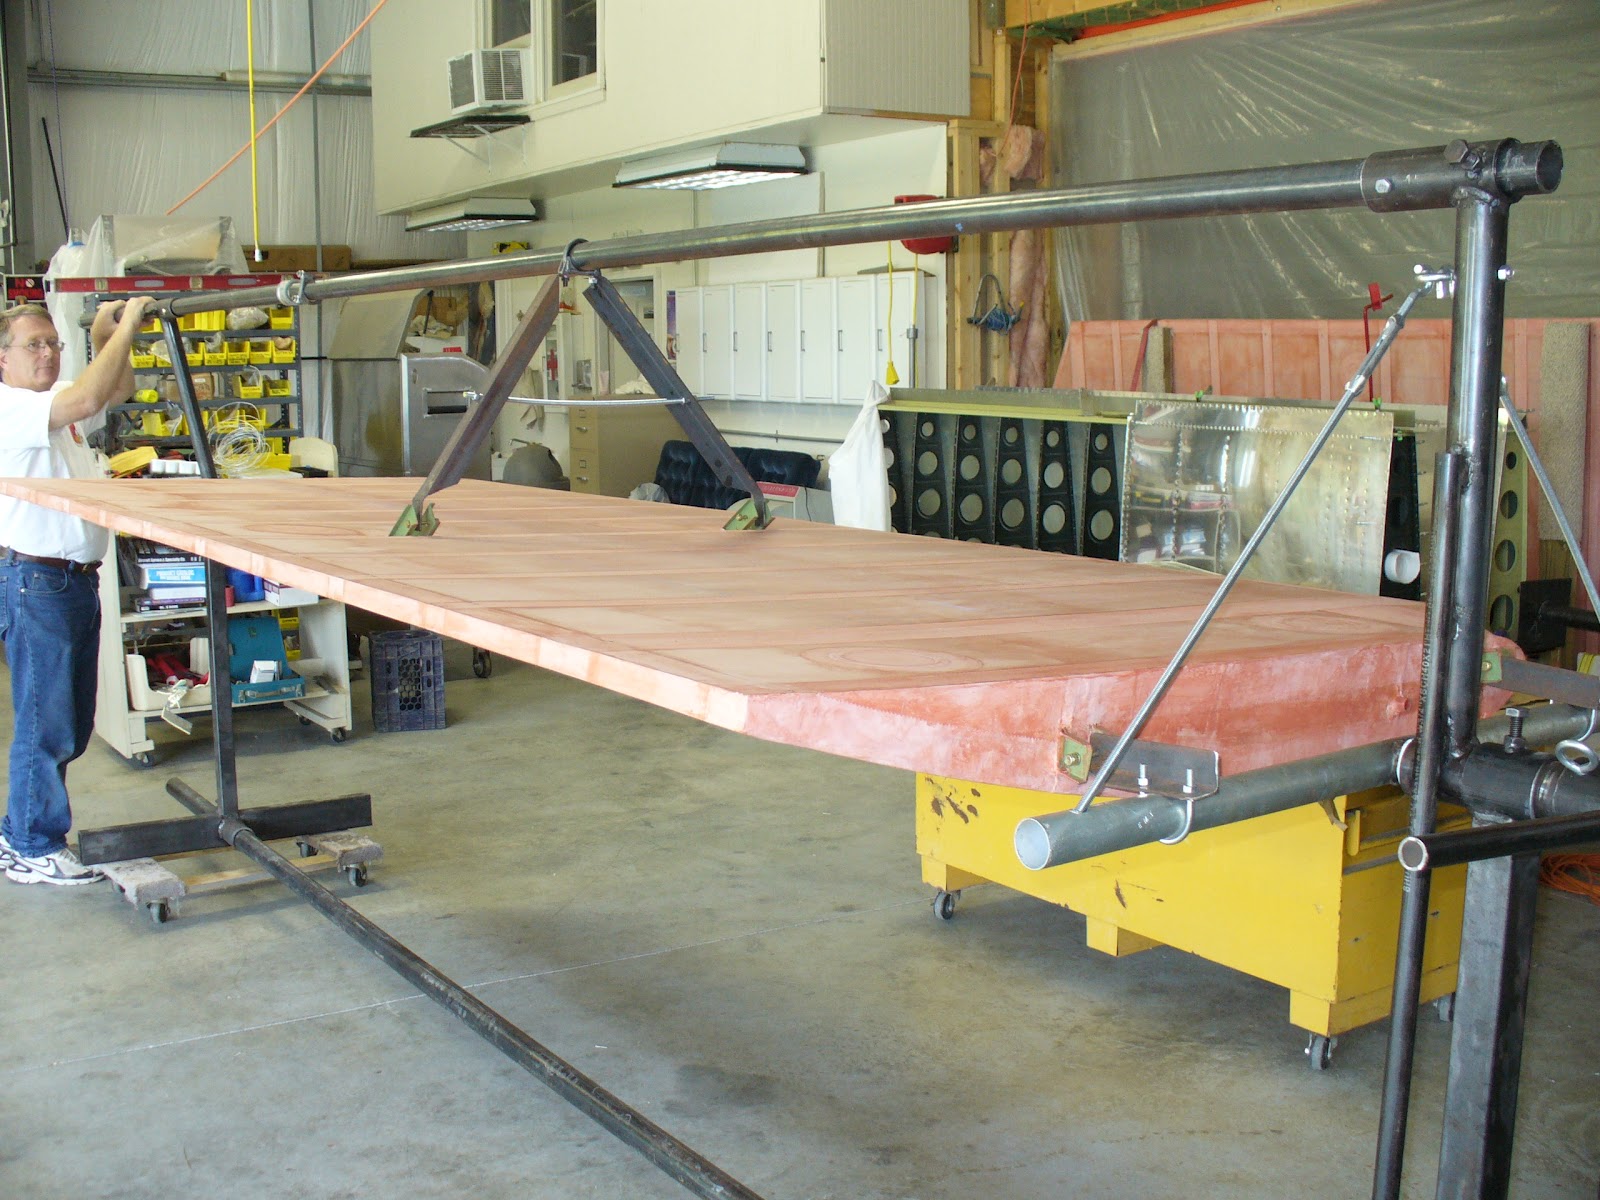
One person can rotate the wing to the horizontal position.
The brilliance of Terry Gardner - the bow wingtip is free of any support, the wing being attached at the wing root and strut brackets.
Terry devised this jig made of PVC tubing to hold an RV wing in the rotisserie.
Andy and Terry at work on the RV-7 wings.
Chuck worked for 2+ hours in the heat to smooth out the remaining ripples on the wing prior to it receiving multiple coats of silver.
Andy uses another Terry Gardner fixture to move the RV-7 wing (Terry was holding the other end).
The fixture allows the RV-7 wing to be easily rotated on a set of steel supports, also created by Terry.
Andy and Mike give the upper surface a quick wipe-down with Polyfiber cleaner.
Shot of the underside of the wing shows how it is supported on the rotisserie from the wing strut brackets. This keeps the rotating shaft far from the wing surface, allowing plenty of freedom of motion during spray painting. Shafts located too close to a surface can leave a 'shadow' when inconsistencies appear in the paint.
Mike holds up the front curtain of the paint booth to show the right wing, ready for painting on the rotisserie.